How to Install Yoast SEO Plugin in WordPress in 4 Easy Steps
Your WordPress website is by default quite SEO friendly. You can, however, still improve the search engine friendliness of your site! In order to boost the SEO of your WordPress site further, you will need to install a plugin – Yoast SEO.
Yoast SEO is one of the most popular WordPress plugins with over 3+ millions active installs! Developed by Team Yoast, this wonderful WordPress plugin includes everything from a real time page analytics functionality to snippet editor and more, which help a WordPress site owner to optimize the web content, meta descriptions, titles, and much more.
The Yoast SEO plugin comes in two versions: Free & Premium. Here are the features of both the versions:
Free Version:
- Focus Keyword and Content Analysis
- Post Titles and Meta Descriptions
- Robots Meta Configuration
- Readability Check
- Canonicals
- Breadcrumbs
- Primary Category
- Permalink Clean Up
- XML Sitemaps
- RSS Enhancements
- Edit robots.txt and .htaccess
Premium Version:
- All the Features of Free Version
- Redirect Manager
- Multiple Focus Keywords
- Social Previews
- Internal Linking
- Insights
- Premium Support
Read more about all these features in details on Yoast’s website here.
How to Install Yoast SEO Plugin?
You can install Yoast SEO Plugin to your site from within WordPress or Manually. The easier method is installing the plugin from within the WordPress admin panel, and we are going to show you just that.
From WordPress
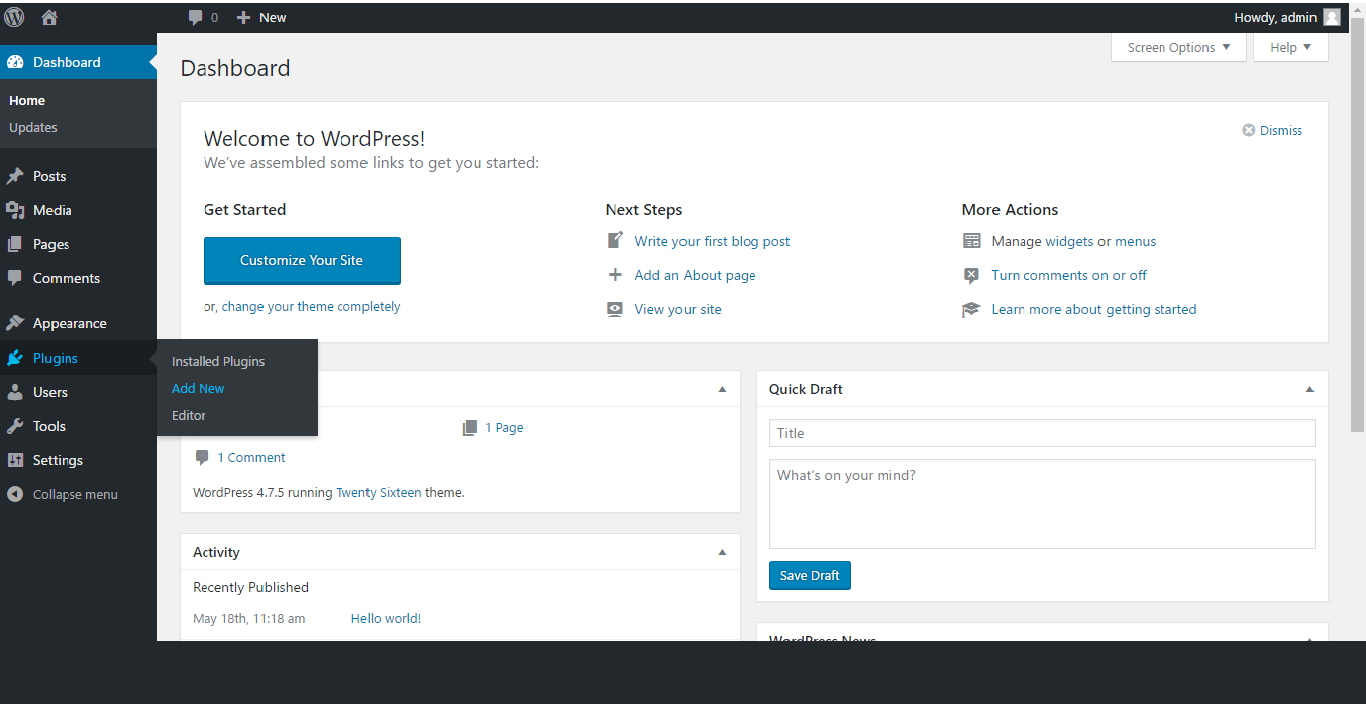
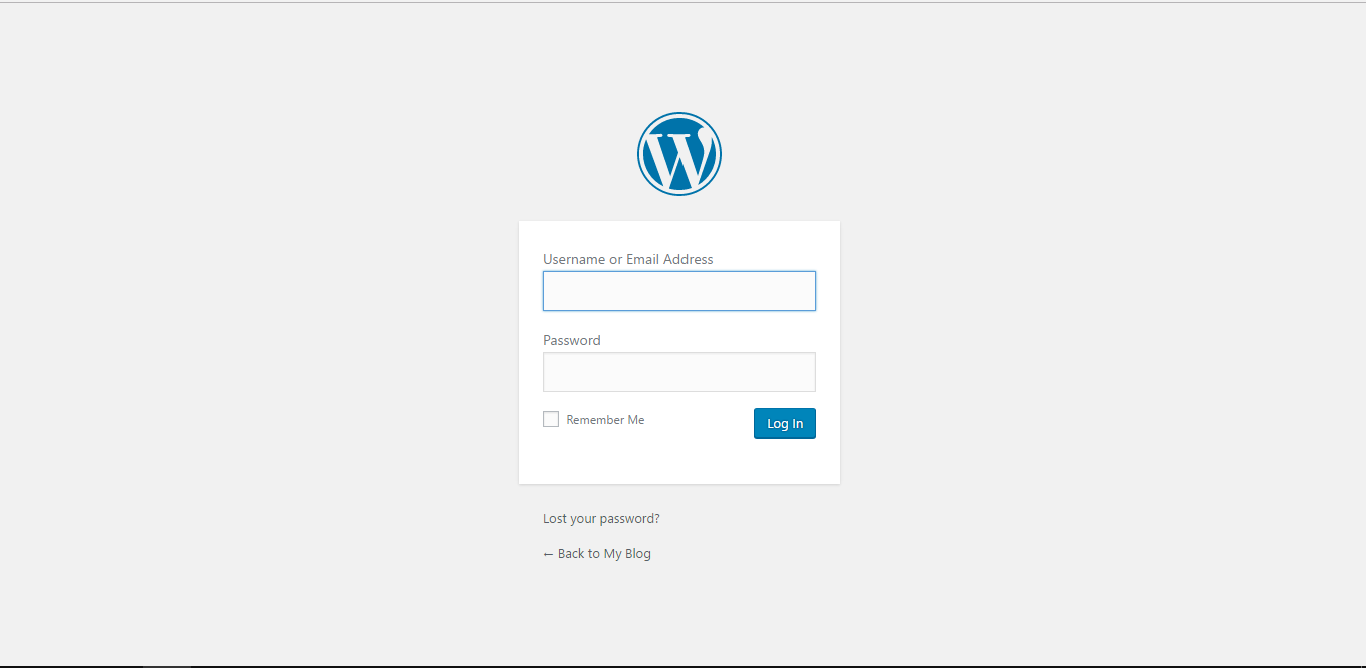
1. Head to your WordPress admin login panel and login with the admin credentials. You can head to your admin panel by adding wp-login after your website URL. Example: yourwebsite.com/wp-admin.
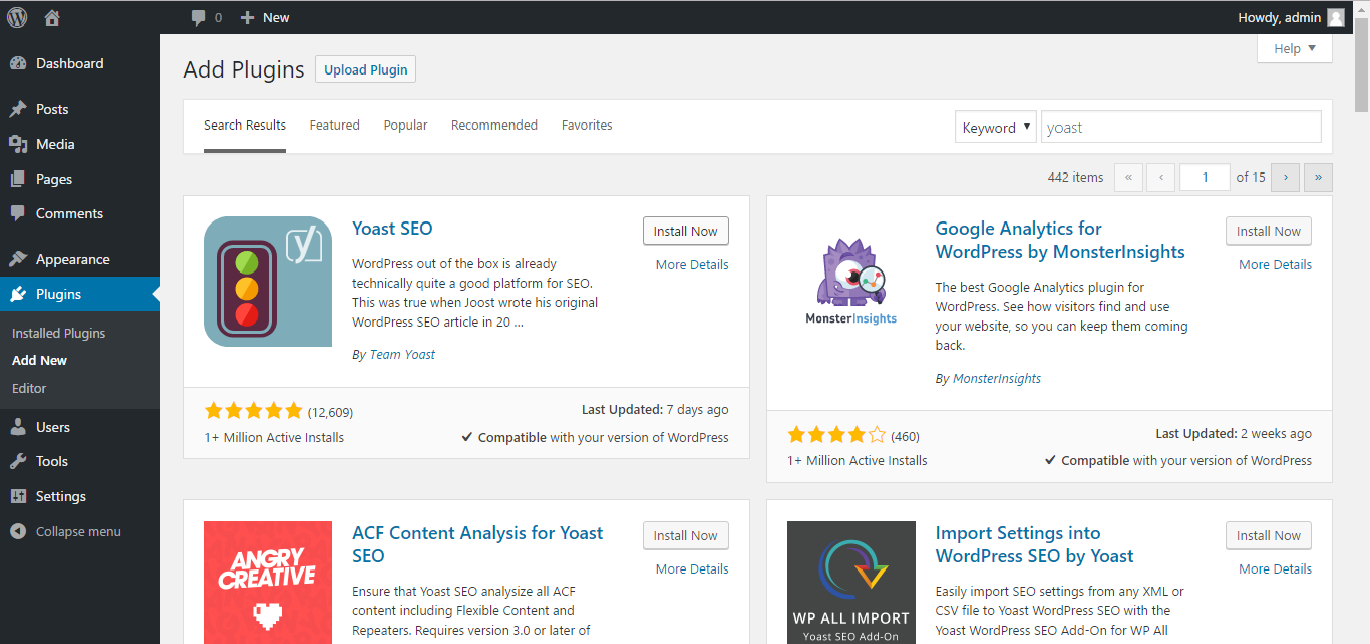
3. Now, search for Yoast SEO Plugin and click ‘Install Now’ button.
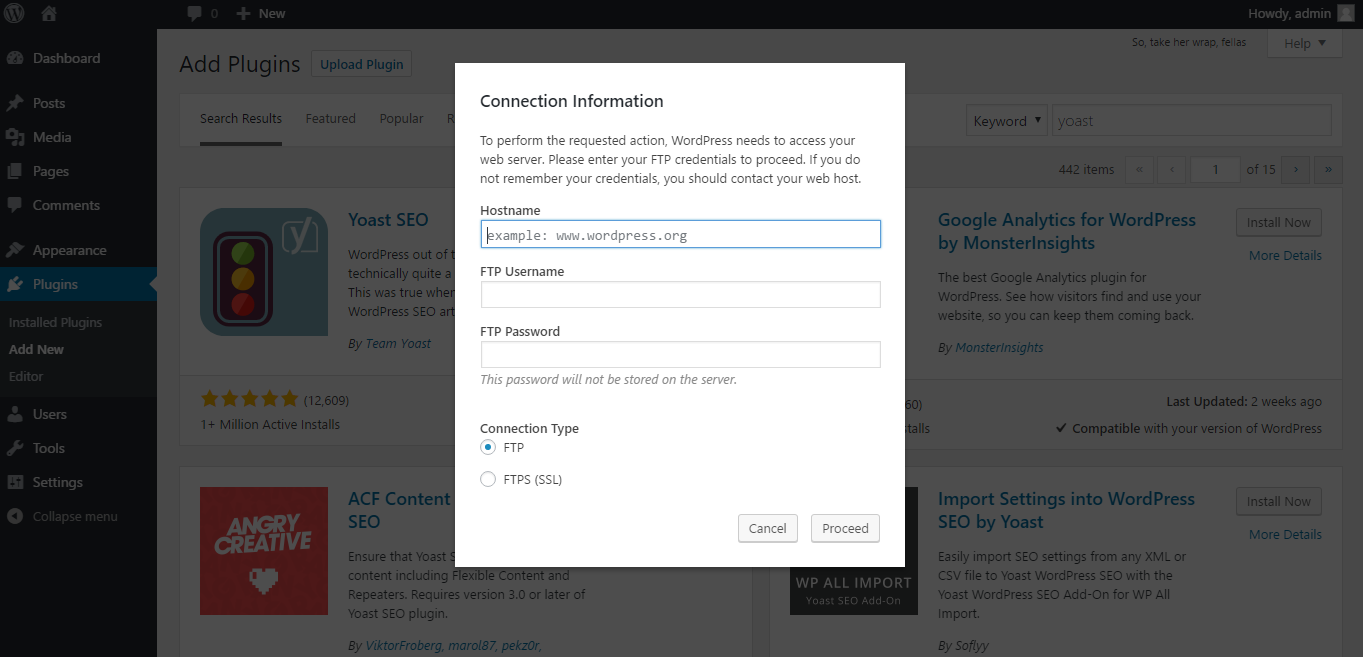
You may be asked to provide your site’s FTP details. Furnish the details accordingly and click on the ‘Proceed’ button.
4. Once the Yoast SEO plugin is installed, hover your mouse again to the ‘Plugins’ on the left, and this time, click on ‘Installed Plugins.’ You will see all the installed plugins here, including the Yoast SEO plugin. Just click ‘Activate’ under the Yoast SEO in order to activate the plugin.
That’s it! Your site is all ready to use the features of plugin.
If you have any problem installing the WordPress Plugin or need help configure it, contact us at Concept Infoway.
We are the leading WordPress development company in India from where you can hire top WordPress developers for your unique web development requirements. Hire WordPress developers from the experienced WordPress development company in India for:
- WordPress Web Development
- WordPress Blog Development
- WordPress CMS Development
- WordPress Ecommerce Development (WooCommerce Development)
- WordPress Theme Design & Customization
- WordPress Plugin Development & Customization
- WordPress API Integration
- WordPress Migration & Upgradation
- WordPress Site Maintenance & Support
For more information, contact us at sales@conceptinfoway.com. You can also get in touch with us by filling out a simple form here or by calling us at +91 98250 31415. Let us help you unlock the full potential of your website with our WordPress development services. Also, follow us on Facebook.

Why You Should Still Consider SEO Services


